Compare two images with a reveal slider
Place two project images in one frame, let viewers move a divider between them, and review the saved comparison in an interactive preview.
Before you start
Open a saved CLM presentation in Edit with permission to change it and select the slide. Finish any pending edit. Upload both PNG, JPEG or WebP images to the project first. Images with the same proportions and aligned content give the clearest reveal.
Add the image reveal
- Open Components, find Image reveal and choose Add image reveal. Wait for the component to be confirmed; if the result is unconfirmed, choose Check saved outcome before trying again.
- Select the Image comparison on the slide or in Layers, then choose Edit component.
- Move or resize the comparison frame to fit the slide.
Choose and describe both images
- In Content, choose the Project image for Image A and Image B. Each choice records that exact saved image version.
- Give each image a Label that viewers see beside the slider, such as the condition or time point it shows.
- Enter an Alternative description for each image that describes what it shows. Viewers see the comparison only after both descriptions are present.
- Use Swap A and B if the images are on the wrong sides. Read the status message under the images: it tells you when an image is missing, a saved version is unavailable, or the proportions differ and alignment needs review.
Set the direction, starting position and fit
- In Behavior, choose a Horizontal or Vertical Reveal orientation.
- Set the Starting position to control how much of Image B is visible when the slide opens.
- In Style, choose Contain or Cover for the Shared image fit, then adjust Shared alignment X and Y. Both images use the same fit and alignment.
Try the comparison and save
- Choose Try interaction. Drag across the frame or use the Visible image coverage slider with the keyboard to move the divider.
- Use Show for either label to reveal one image fully, View side by side to see both images next to each other, and Reset interaction to return to the starting position.
- To keep the current divider position as the authored start, choose Set as starting position. Otherwise trying the reveal does not change the saved starting position.
- Choose Save interaction and wait for confirmation. Use Undo or Redo to reverse or restore an edit.
Review the saved preview
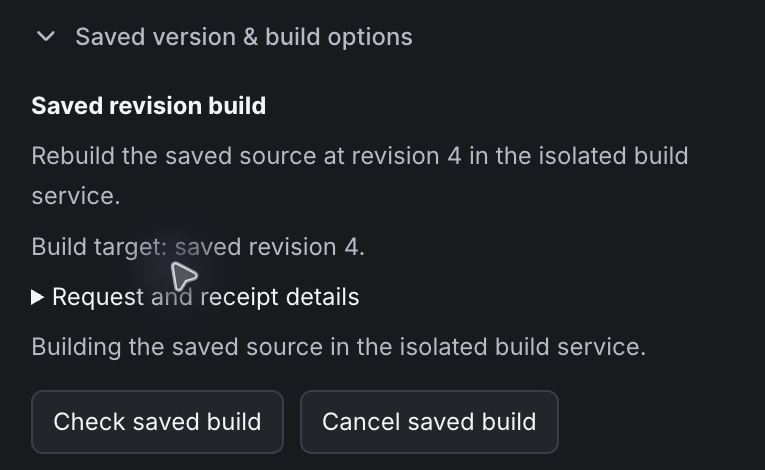
- Rebuild the saved revision from Builder using Saved version & build options. If a build request is retained, use Check saved build before starting another.
- Open the confirmed saved preview. Move the divider with a pointer and the keyboard, and check both labels and descriptions.
- Reload and reopen the saved preview. Confirm that the saved content and starting state are retained.
Saved version & build options uses the same retained build controls after you save the comparison. The example below shows the running-build state.
 Enlarge screenshot
Check the result
- Both images appear in one frame, with their labels on either side of the slider.
- The divider starts at the authored starting position and moves with a pointer or keyboard in the chosen direction.
- Viewers can still compare both images side by side, and reopening the saved preview keeps the images, labels, descriptions and starting position.
Recover and continue
- If a saved image version is unavailable, choose the intended project image again and review its description.
- If the proportions differ or dimensions are unavailable, review the alignment, or replace one image with a version that matches the other.
- If the comparison does not appear, add an alternative description for both images.
- If a save is unconfirmed, use Check saved outcome or Retry saved interaction before repeating the edit. If the preview shows an earlier edit, rebuild the intended saved revision.