Compare options in a comparison matrix
Build a table that compares supplied values across options, link each value to its source material, and review the saved matrix in an interactive preview.
Before you start
Open a saved CLM presentation in Edit with permission to change it and select the slide. Finish any pending edit. Have the supplied values ready, and add the supporting source material to the project before linking it.
Add the comparison matrix
- Open Components, find Comparison matrix and choose Add comparison matrix.
- Wait for the confirmation. If the result is unconfirmed, choose Check saved outcome and review the saved slide before adding another matrix.
- Select the Comparison matrix on the slide or in Layers, then choose Edit component. Move or resize it to fit the slide.
Add options and attributes
- In Content, enter a Matrix title.
- Choose Add option for each product, regimen or choice you compare. Enter its Option name and, when needed, an Option note. Select Add option detail to give an option a detail title and text.
- Choose Add attribute for each measure you compare. Enter the Attribute name, Attribute unit and Attribute note.
- Use Move option up or down, Move attribute up or down, Delete option and Delete attribute to arrange the table.
Enter values and link sources
- Under each attribute, enter the Value for every option. Leave Value empty when it was not supplied; the matrix shows Not supplied.
- Add a Value unit or Value note when one cell needs its own unit or explanation.
- Select the registered sources that support each value, attribute, option and option detail. Each selection shows the source's recorded fingerprint.
Choose the starting highlight
- In Behavior, choose a Starting highlight: one option, one attribute, or None.
- The matrix uses the slide's typography and spacing. Use the selected object's Style controls to change its appearance.
Try the matrix and save
- Choose Try interaction. Select an option or attribute heading to highlight it, and select it again to clear the highlight. Use Reset highlight to return to the starting highlight.
- On a narrow slide, scroll the table horizontally to reach every option.
- Choose Save interaction and wait for confirmation. Use Undo or Redo to reverse or restore an edit.
Review the saved preview
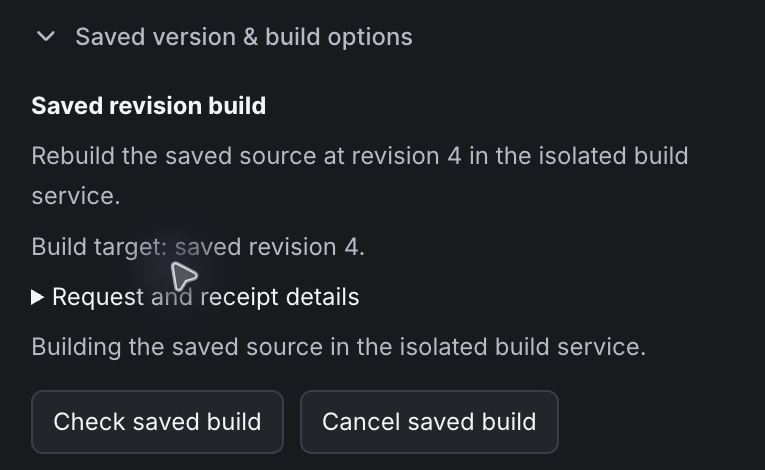
- Rebuild the saved revision from Builder using Saved version & build options. If a build request is retained, use Check saved build before starting another.
- Open the confirmed saved preview. Check every value, unit and note, and try highlighting options and attributes.
- Reload and reopen the saved preview. Confirm that the saved content and starting state are retained.
Saved version & build options uses the same retained build controls after you save the matrix. The example below shows the running-build state.
 Enlarge screenshot
Check the result
- Every option and attribute appears in the intended order, and each cell shows the supplied value or Not supplied.
- The starting highlight appears when the slide opens, and viewers can highlight another option or attribute.
- Reopening the saved preview keeps the values, units, notes, source links and starting highlight.
Recover and continue
- If a value is missing, enter the supplied value or leave it empty so the matrix shows Not supplied. Do not fill a gap with an estimate.
- If a source is not listed, add it to the project first, then return to the matrix and select it.
- If the matrix action could not be confirmed, use Check saved outcome before repeating it. For a revision conflict, review the latest saved matrix first.
- If the preview shows an earlier edit, rebuild the intended saved revision.